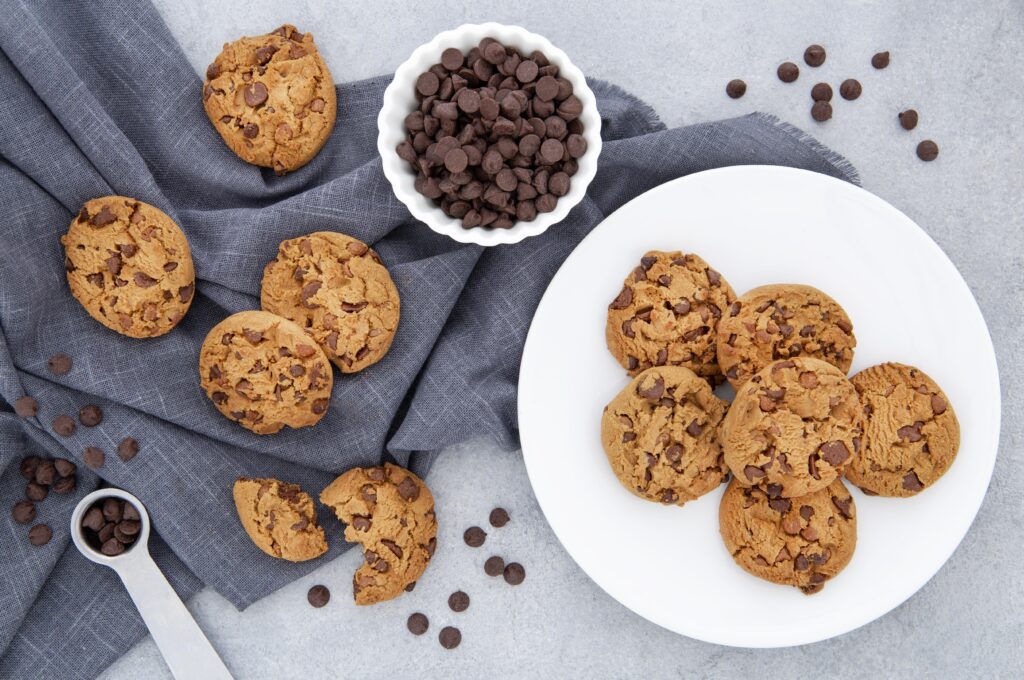
I’ll be honest, I’ve tried a lot of chocolate chip cookie recipes. Like, a lot. Some turned out flat as pancakes. Others came out hard as hockey pucks. I was starting to think perfect homemade cookies were just a myth.
Then I found this recipe at a friend’s birthday party. She brought out a plate of warm cookies, and I swear everyone went silent. That first bite? Crispy edges, chewy center, loaded with melty chocolate chips. I literally asked for the recipe before I finished chewing.
She laughed and said, “It’s easier than you think.”
She was right. This has become my go-to chocolate chip cookie recipe. No weird ingredients, no chilling the dough for hours, just straightforward baking that works every single time.
Why This Is the Best Chocolate Chip Cookie Recipe
After making these cookies about a million times (okay, maybe like 50), I finally understand what makes them special.
The secret isn’t some fancy technique or expensive chocolate. It’s actually about doing a few simple things right, beating the butter and sugar long enough, using room temperature ingredients, and this is key, not overbaking them.
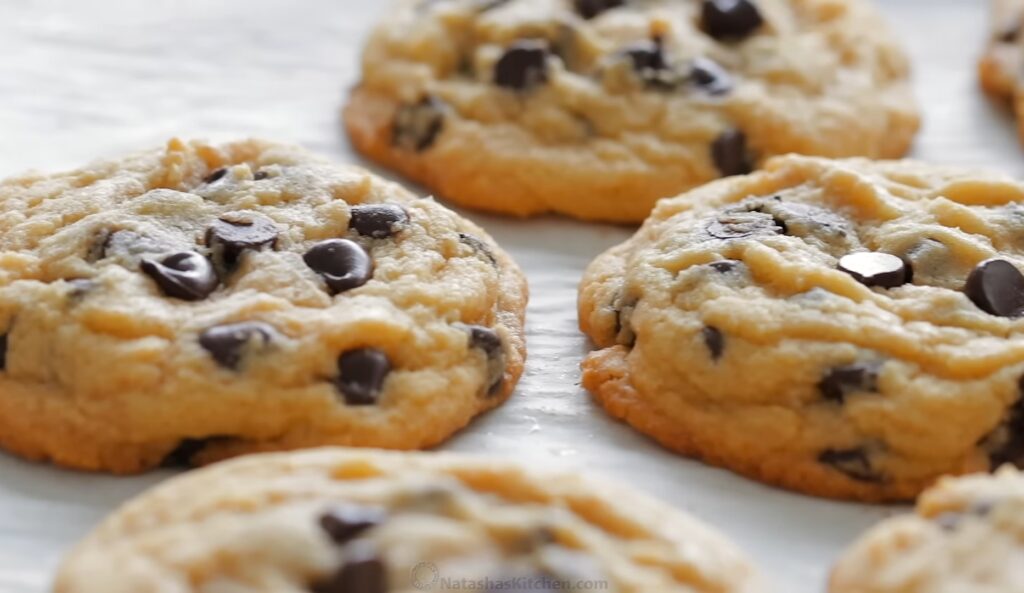
What Makes These Cookies Stand Out:
They come out soft and chewy every time. The edges get slightly crispy while the center stays perfectly gooey. You don’t need to chill the dough (yes, really). They use basic pantry ingredients you probably already have. Plus, you can bake some now and freeze the rest for whenever a cookie craving hits.
source: YouTube/Natashas Kitchen
What You’ll Need
The Ingredients:
- 2 sticks (1 cup) unsalted butter, softened
- ½ cup granulated sugar
- 1 cup light brown sugar (tightly packed)
- 2 large eggs at room temperature
- 2 tsp vanilla extract
- 3 cups all-purpose flour (375 grams)
- 1 tsp baking soda
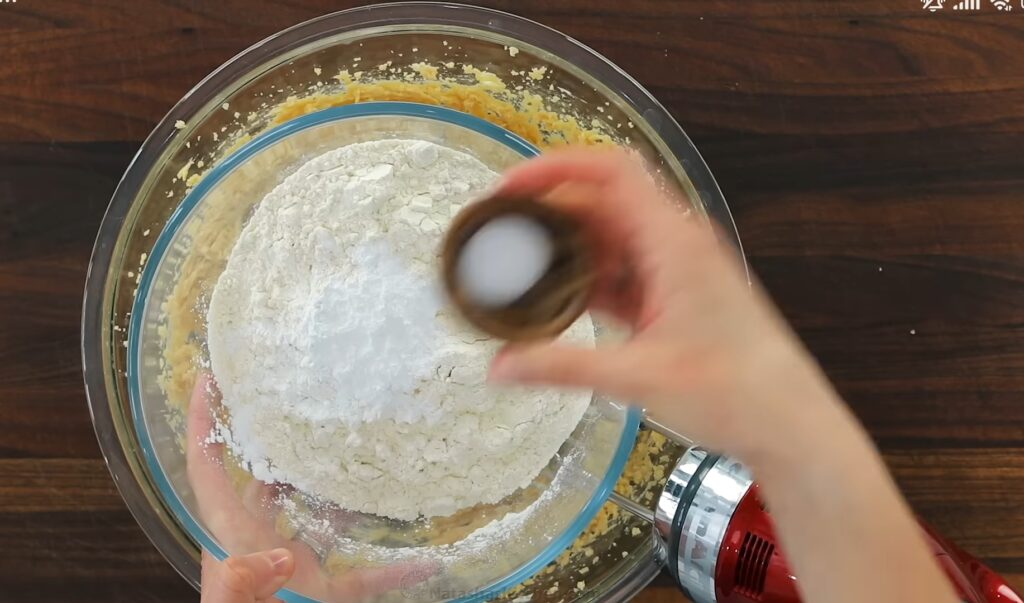
- 1 tsp salt
- 2 cups (12 oz) semi-sweet chocolate chips
Quick note: Room temperature ingredients matter here. Cold eggs and butter won’t mix properly, and your cookies won’t have that perfect texture.
How to Make Chocolate Chip Cookies (Step by Step)
The first time I made these, I was nervous about messing them up. But honestly, if you can use a mixer and a measuring cup, you can make these cookies. Here’s exactly what to do:
Step 1: Get everything ready
Preheat your oven to 350°F. Line three cookie sheets with parchment paper or silicone mats. Trust me on the parchment paper, it makes cleanup so much easier.
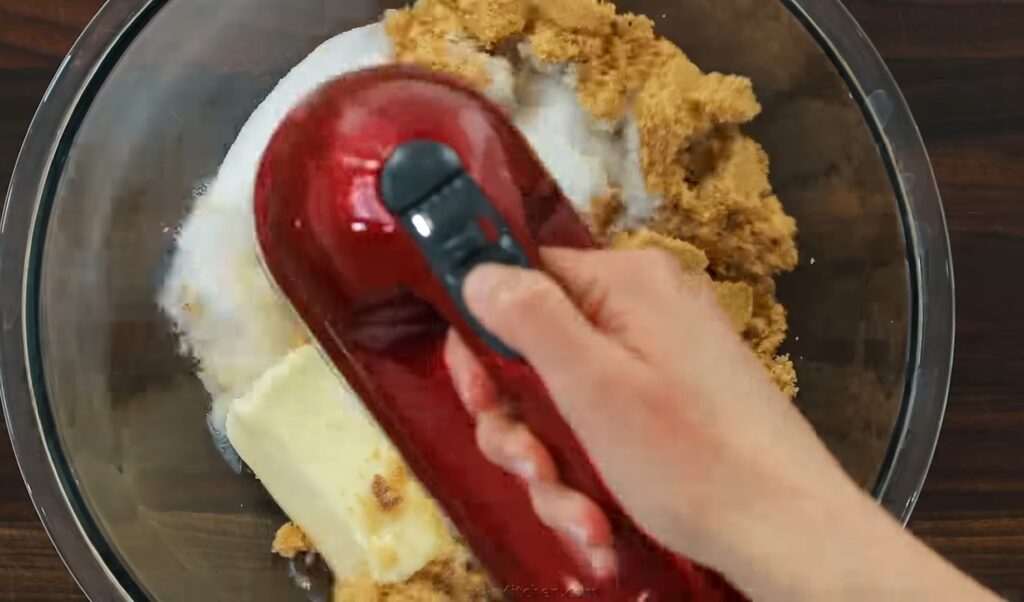
Step 2: Cream the butter and sugars
Here’s the most important step: beat the softened butter with both sugars for a full 5 minutes. I know it seems long, but this is what gives you those chewy cookies everyone loves. Your mixture should look light and fluffy. Don’t skip this step or rush it.
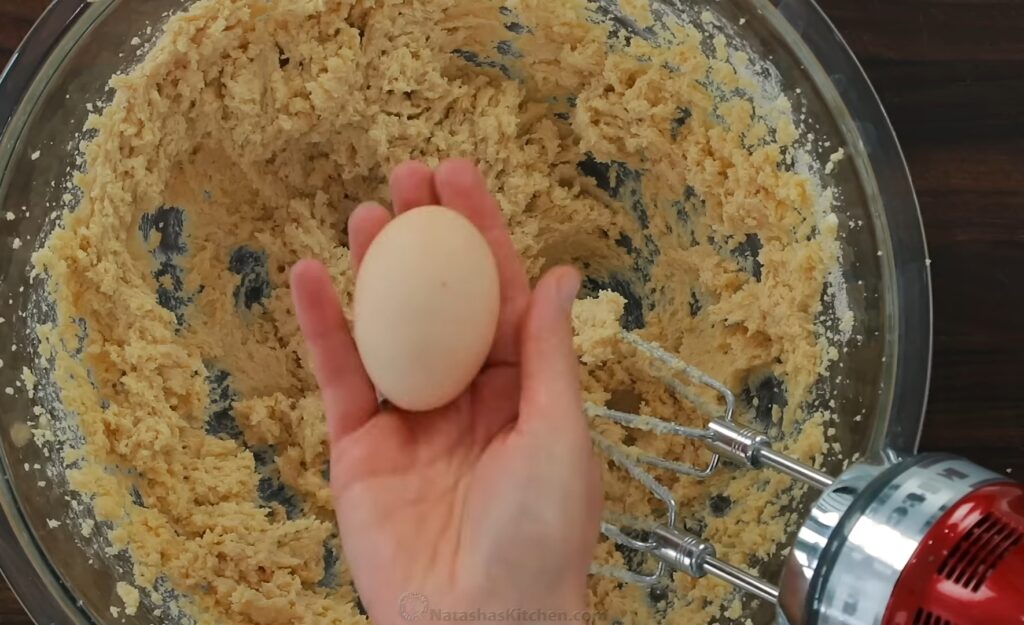
Step 3: Add the eggs and vanilla
Beat in the eggs one at a time. Make sure the first egg is fully mixed in before adding the second. Then add your vanilla extract and mix it through.
Step 4: Mix the dry ingredients
In a separate bowl, whisk together the flour, salt, and baking soda. Make sure to sift the baking soda so you don’t get any lumps.
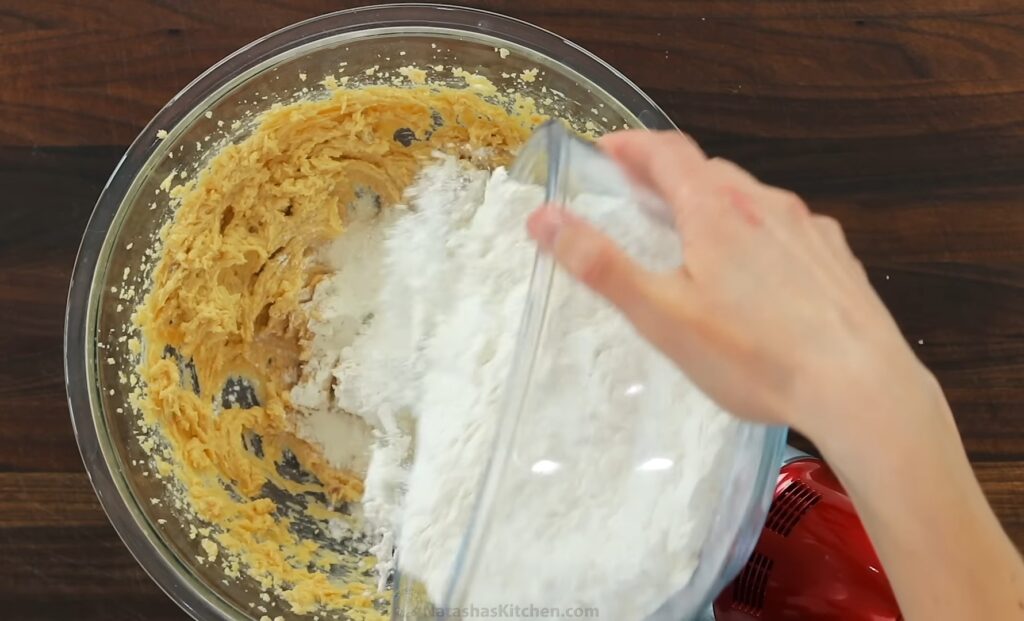
Step 5: Combine everything
Add your dry ingredients to the wet ingredients in three parts. Mix just until you can’t see any flour streaks. Here’s where people mess up, don’t overmix. Overmixing makes tough cookies, and nobody wants that.
Step 6: Fold in the chocolate chips
Gently fold in those chocolate chips. This is the fun part. Feel free to sneak a few, I won’t tell.

Step 7: Shape the cookies
Scoop out 3 tablespoon-sized balls of dough onto your prepared sheets. I use a cookie scoop because it makes them all the same size, but you can totally just use spoons.
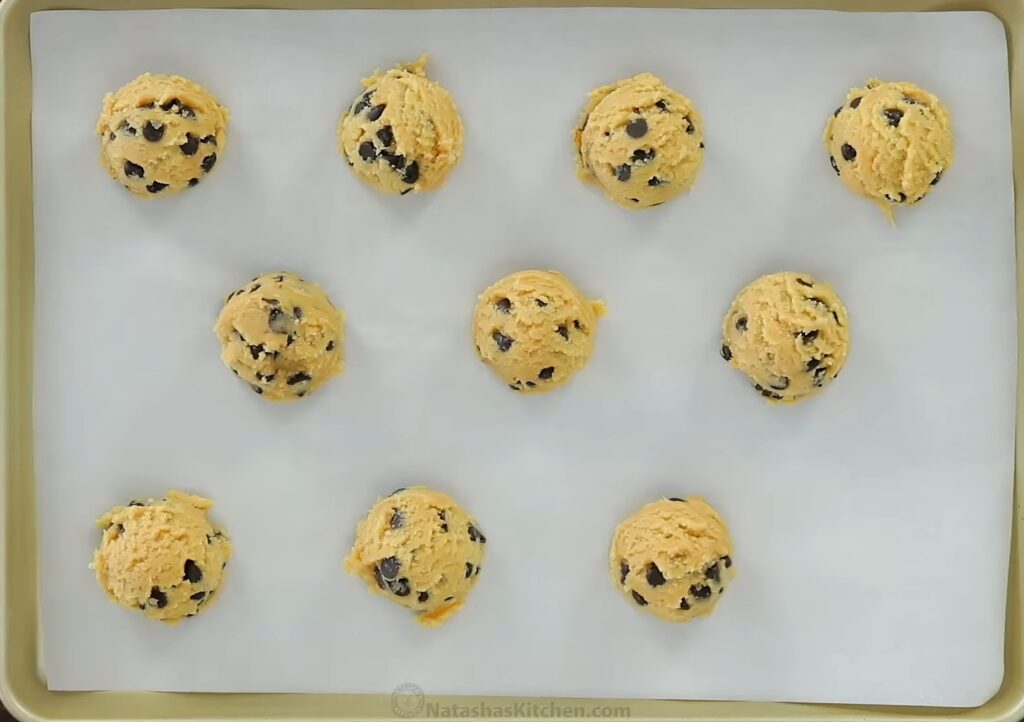
Pro tip: Press a few extra chocolate chips on top of each dough ball before baking. Makes them look like they came from a bakery.
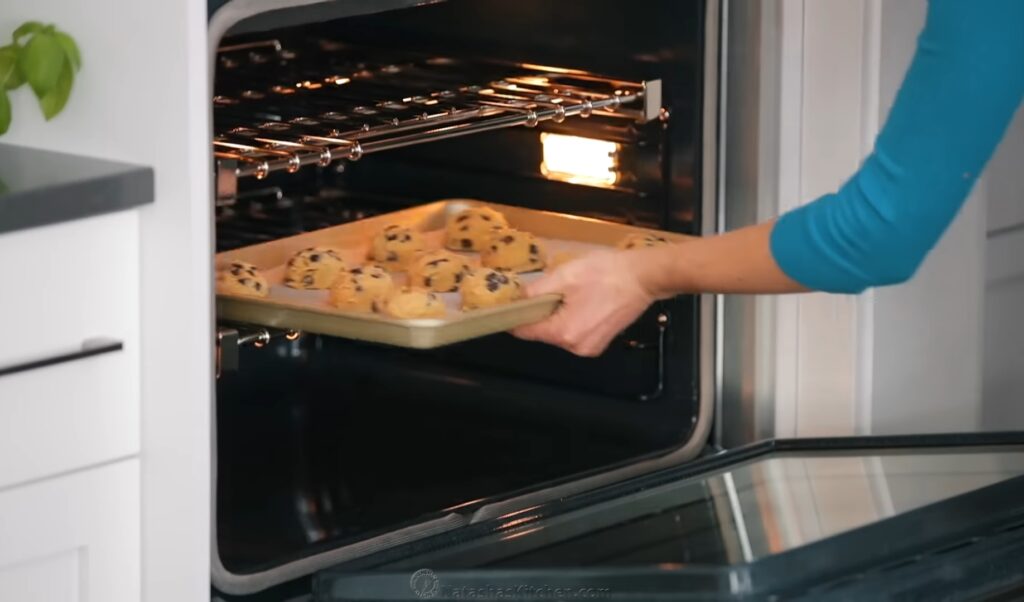
Step 8: Bake
Bake one sheet at a time for 12-15 minutes. Here’s the trick that changed everything for me: take them out when the edges are just turning golden but the tops still look slightly underdone. They’ll look too soft, but trust the process.
Step 9: Let them rest
Leave the cookies on the baking sheet for about 5 minutes. They’ll finish cooking and firm up just enough to move. Then transfer them to a cooling rack.
Tips That Actually Make a Difference
About That Butter:
Room temperature butter should be soft enough to leave a fingerprint but not melty. If you forgot to take it out early, cut it into small cubes, it’ll soften faster.
The 5 Minute Rule:
Seriously, beat that butter and sugar for the full 5 minutes. Set a timer. This is what creates that perfect chewy texture.
Don’t Overbake:
This is huge. Cookies keep cooking after you take them out of the oven. If they look fully done in the oven, they’ll be too hard once they cool. Pull them out when they still look a tiny bit underbaked.
Storage:
Keep your cookies in an airtight container at room temperature for up to 5 days. Want to keep them extra soft? Toss a piece of bread in the container. The cookies absorb moisture from the bread and stay soft longer. Weird trick, but it works.
Reheating:
Pop a cookie in the toaster oven for a minute or bake at 350°F for 2-3 minutes. Tastes like they just came out of the oven.
Read more: Hot Honey Recipe at Home
Common Questions I Always Get
Why did my cookies turn out flat?
Usually means there wasn’t enough flour. Make sure you’re measuring correctly fluff your flour first, then spoon it into the measuring cup without packing it down. Also, check that your baking soda is fresh by mixing a teaspoon with some vinegar. If it doesn’t fizz, get new baking soda.
Why didn’t my cookies spread?
Probably too much flour, or the dough balls were too big. Stick to 3 tablespoons per cookie and make sure you’re not packing the flour when you measure.
Do I need to flatten them before baking?
Nope! These spread perfectly on their own. Just shape them into balls and let the oven do its thing.
Can I make the dough ahead?
Absolutely. Scoop the dough into balls, freeze them on a tray, then transfer to a freezer bag. Bake straight from frozen just add an extra minute or two to the baking time. It’s like having fresh cookies on demand.
How I Actually Use This Recipe
Sunday Baking: I’ll make a full batch, bake one sheet to eat fresh, and freeze the rest of the dough balls. Then whenever I want warm cookies, I just bake a few.
Gifts: These travel really well. Put them in a clear bag tied with ribbon, and suddenly you’re everyone’s favorite person.
Stress Relief: Sometimes you just need to bake something. The smell alone is therapeutic.
Last-Minute Guests: Having frozen cookie dough balls means I’m always 15 minutes away from looking like I totally have my life together.
Read more : Best Banana Bread Recipe: Moist, Easy, and Perfect for Beginners
Why You Need to Try This
Look, there are about a thousand chocolate chip cookie recipes out there. But this one? It’s the one I come back to every single time.
No fancy equipment needed. No overnight dough chilling. No complicated steps. Just really, really good cookies that actually turn out the way they’re supposed to.
That plate of cookies at my friend’s party? Changed my baking game. Now I’m the one showing up with warm cookies and sharing this recipe.
Your kitchen is about to smell amazing. Just saying.
Pro tip: Make a double batch. You’ll thank me later when you’re out of cookies by Wednesday.
Happy baking! 🍪